Your Ultimate Guide to Preparing Your Nashville Home for Spring Painting
As the chill of winter fades and the first signs of spring appear across Nashville, many of us get the itch to refresh and renew our homes. A fresh coat of paint is one of the most impactful ways to breathe new life into your space, whether you're enhancing your home's Southern charm or updating your interior with modern colors. But a beautiful, long-lasting paint job isn't just about choosing the right shade. The secret to a flawless finish lies in thorough preparation. Taking the time to properly prep your home ensures the paint adheres correctly, looks professional, and stands up to Tennessee's unique weather. This guide will walk you through the essential steps to prepare your home for a spring painting project, ensuring you get the stunning results you deserve.

Step 1: The Exterior Checklist for Unbeatable Curb Appeal
Your home's exterior is the first thing y'all and your guests see. A pristine paint job not only looks fantastic but also serves as a crucial barrier against the elements. Before a single brushstroke, a proper inspection and cleaning are essential.
- Wash Away the Winter Grime: Over the fall and winter, your siding, trim, and front porch can accumulate a layer of dirt, mildew, and pollen. Painting over this will lead to peeling and chipping down the road. A thorough cleaning is non-negotiable. For most homes, a good pressure wash is the most effective method. Be careful to use the right pressure setting to avoid damaging siding or forcing water into cracks.
- Inspect for Damage: Walk around your property and take a close look at all surfaces to be painted. Look for signs of peeling, blistering, or cracking paint. These areas will need to be scraped and sanded. Also, check for any wood rot, especially on trim, window sills, and door frames. Minor issues can often be repaired, but significant damage might require professional attention. Addressing these problems now prevents them from worsening under a new coat of paint.
- Clear the Area: Trim back any shrubs, tree branches, or vines that are touching or hanging close to your home's exterior. This gives painters clear access to all surfaces and prevents leaves and debris from getting stuck in the wet paint. Move any patio furniture, grills, planters, and hoses away from the house to a safe location.
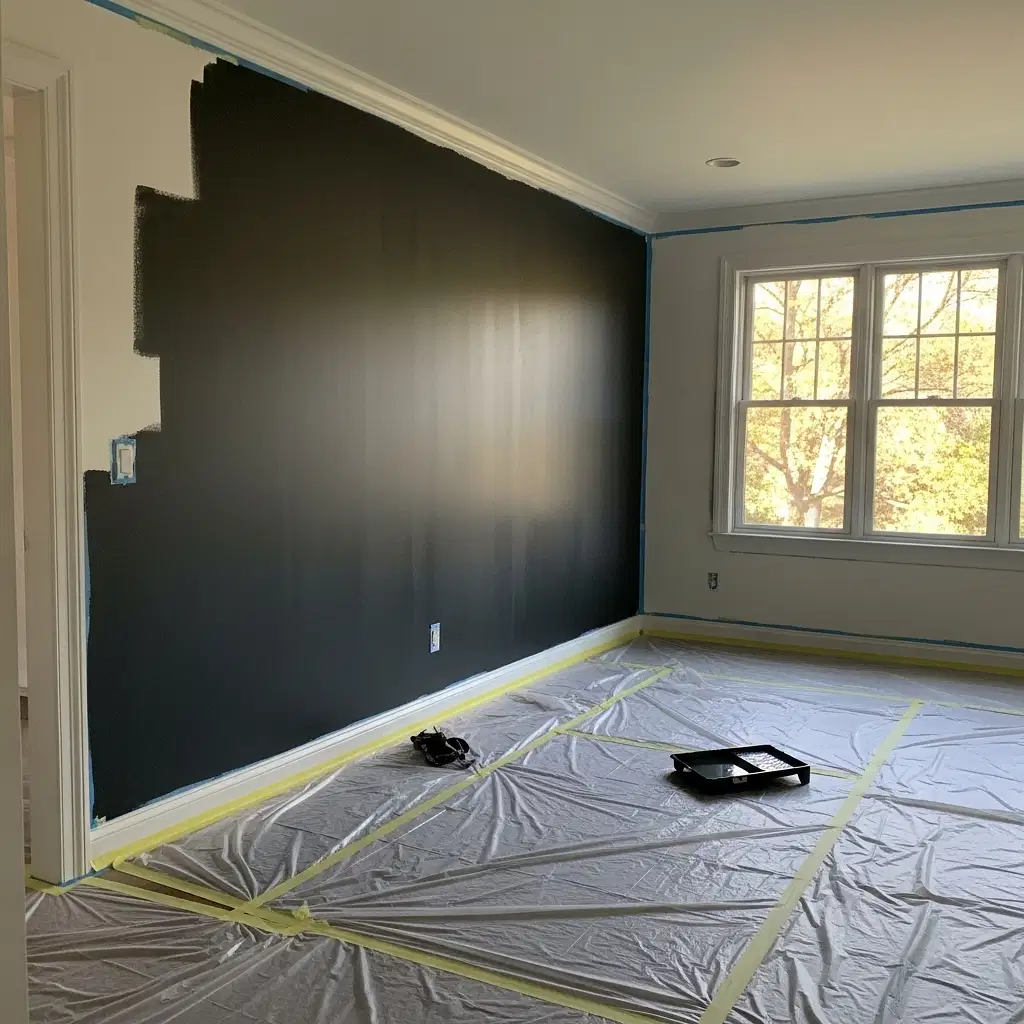
Step 2: Prepping Your Interior for a Flawless Finish
Preparing for an interior painting project is just as important as exterior prep. The goal is to create a clean, smooth canvas and protect everything you don't want painted. This is a core part of our process, ensuring your home is treated with the utmost respect.
- Create a Clear Workspace: Remove as much furniture as possible from the room. For larger items that can't be moved out, group them in the center of the room and cover them completely with plastic sheeting or drop cloths. Don't forget to take down curtains, blinds, and wall art.
- Protect Your Floors and Fixtures: Cover your entire floor with durable drop cloths. Use painter's tape to secure the edges and prevent any gaps. Remove or cover light fixtures, and remove the cover plates from all electrical outlets and light switches. This ensures clean, crisp lines and protects these elements from paint splatters.
- Clean the Walls: Just like your home's exterior, interior walls collect dust, cobwebs, and grime. Wipe down all walls and baseboards with a mild detergent and water solution, then rinse with a clean, damp cloth. Pay special attention to kitchens and bathrooms, where grease or soap scum can build up. Let the walls dry completely before moving on.
Step 3: The Critical Details of Surface Preparation
This is where a good paint job becomes a great one. Flaws and imperfections on the surface will show through the final coat, so addressing them beforehand is crucial for a professional-looking result. This is often the most time-consuming part of the process, but it's worth every minute.
- Fill Holes and Cracks: Use spackling paste or joint compound to fill any nail holes, dents, or small cracks in the walls. For larger cracks or damaged areas, professional drywall repair might be necessary to ensure a seamless finish. Once the filler is dry, sand it smooth so it's perfectly flush with the wall.
- Sand for Adhesion: Lightly sand any glossy surfaces to dull them, which helps the new paint adhere better. For exteriors, you'll need to sand any areas where old paint was scraped off to create a smooth, feathered edge between the painted and unpainted sections.
- Prime Time: Primer is essential for a uniform and durable finish. It seals stains, covers repairs, and ensures the final color looks true and vibrant. You should always prime new drywall, bare wood, and any surfaces that have been spackled or sanded. Using a quality primer can also help you use less of your more expensive topcoat paint.
Ready for a Refresh? Let the Professionals Handle the Prep
Proper preparation is the foundation of a beautiful, lasting paint job. While some of these steps can be part of a weekend honey-do list, the full scope of cleaning, repairing, and sanding can be a daunting task. A professional team not only has the right tools and expertise but also understands the nuances of preparing homes for the Tennessee climate.
At TN Precision Painters LLC, we believe that meticulous preparation is just as important as the final coat of paint. Our process is built on protecting your home, ensuring every surface is perfectly prepared, and maintaining clear communication from start to finish. If you're ready to transform your home this spring without the hassle, we're here to help.
Contact us today for a professional consultation on our Interior & Exterior Painting and Drywall Repair & Finishing services. Let's give your Nashville home the beautiful, fresh look it deserves. Get your free estimate now!